Zapni diaprojekcijo iPhoto na CD
V tem praktičnem nasvetu vam bomo korak za korakom pokazali, kako diaprojekcijo na CD zapisati s pomočjo iPhota.
Snemanje diaprojekcije na CD z iPhoto
Preden lahko diaprojekcijo shranite na CD, potrebujete plačano aplikacijo iPhoto. Ko ga namestite, lahko začnete:
- Ko zaženete iPhoto, samodejno poišče knjižnice v skupni rabi v vašem računalniku. Te so prikazane na levi strani v meniju iPhoto. Lahko pa ročno ustvarite tudi svoj album pod "Datoteka"> "Nov album".
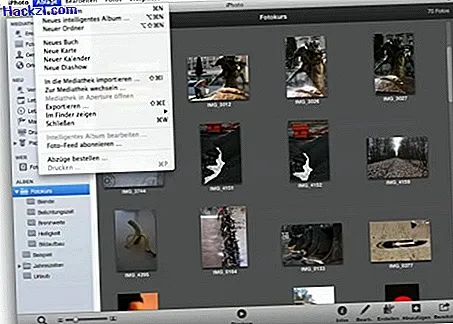
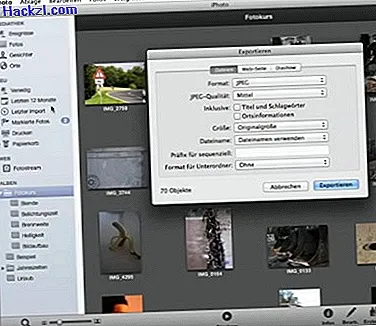
- Ko ste se odločili za diaprojekcijo, kliknite "File"> "Export". Odpre se menijsko okno z zavihkom "Diaprojekcija". Tu lahko določite vrstni red svoje diaprojekcije. Na zavihku "Datoteke" lahko na primer določite velikost in obliko slike. Takoj ko so vse nastavitve opravljene, kliknite »Izvozi«.
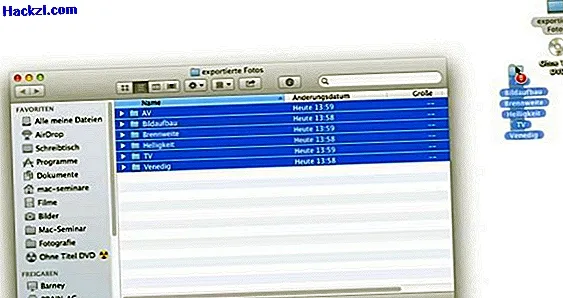
- Odpre se drugo okno, v katerem lahko določite mesto shranjevanja izvoženih slik. Priporočljivo je, da na mizi ustvarite mapo, na primer za pregled. Nato kliknite Ustvari, da začnete izvoziti iPhoto.
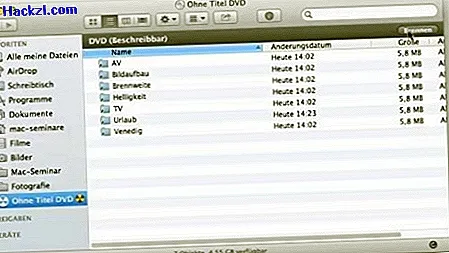
- V pogon vstavite prazen DVD / CD in dejanje "Open Finder" potrdite z "OK". Nato odprite mapo s slikami in povlecite fotografije na prazno.
- Če zdaj v Finderju odprete prazno, se v sivi vrstici zgoraj desno prikaže simbol "Zapelji". Kliknite nanjo in določite tako ime diaprojekcije kot hitrost gorenja.
Posnetki zaslona, uporabljeni v navodilih, prikazujejo iPhoto na Apple iMac. Aplikacija je na voljo tudi za iPhone in iPad. Nasvet: V tem članku vam bomo predstavili najpomembnejše funkcije urejanja fotografij v iPhotu.
Najnovejši videoposnetki
IPhoto vmesnik z menijem File.
Menijsko okno možnosti "Izvozi". Tu nastavite različne nastavitve, na primer obliko slike in zaporedje.
Odprite prazen CD / DVD v Finderju.

Izvožene slike povlecite in spustite v prazno.
Odprta prazna v Finderju z menijsko vrstico in simbolom "Burn".